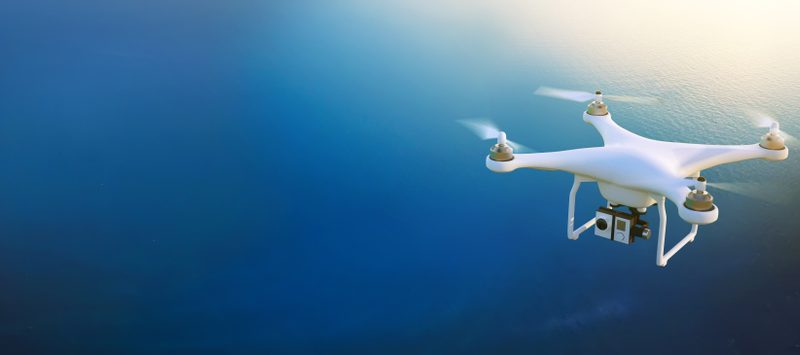
Capturing videos and images through drones is nothing new today in the photography industry, which is driven by quality photographs for blogging, traveling, events, and advertising along with the film industry.
This flying piece of technology can present not only an eagle eye view but can also bring a new dimension to photography. The year 2014 witnessed a ban on drones in India for commercial purposes, but in the year 2016 slight changes were made in the scenario. Commercial use of drones became legalized with a permit from the concerned authority. There exist no ban on the sales of drones, but permission is required along with some legal work on flying them in the sky.
In December 2018 DGCA (Director General of Civil Aviation) announced flying drones will be legal in India for the aerial photography sector. Various rules regarding the height of drone flights and non-drone zones have been prescribed.
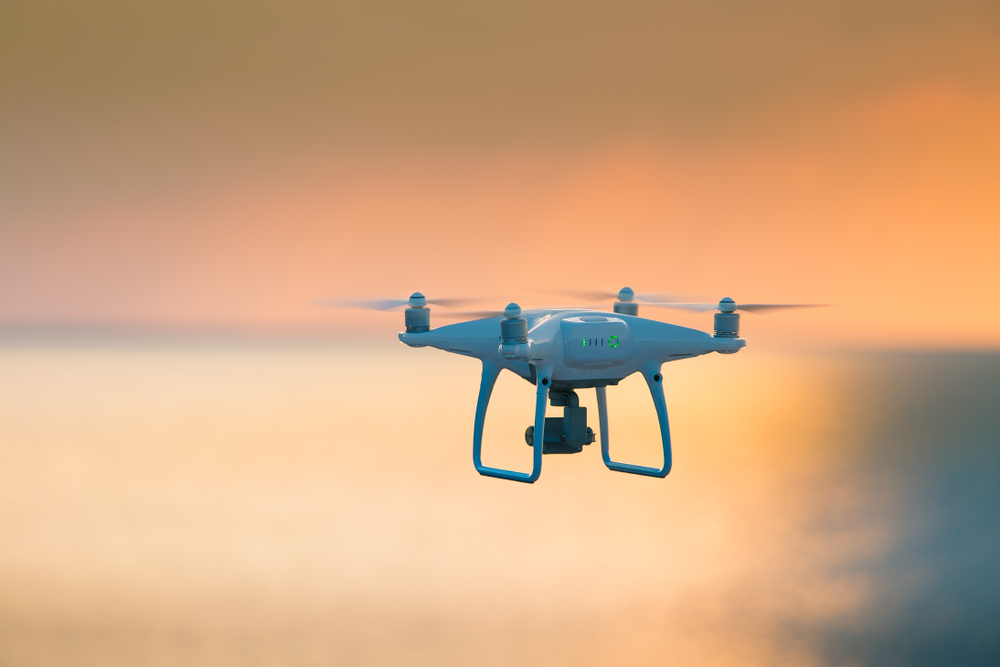
Drone photography enables providing an opportunity to photography enthusiastic the option of clicking the photographs from excellent vantage points and versatile angles for more professional use. Incorporating aerial photography, adventurous shooters can bring in new heights- literally and verbally in their photography services with the help of a drone. These photographers can provide more varied options to their clients for covering specific events.
List of a few do’s and don’ts regarding drone flying includes the following:-
1) The drones can fly to a height of 400 meters by civilians during the daytime only and within a visual line of sides.
2) Drone flying is prohibited in the areas around Vijay Chowk in Delhi, airports, and the nearby International border. Also, it is banned at important military installations, strategic locations, and State Secretariat Complex in state capitals as these areas are classified as non-drone zones.
3) 1 remote pilot can operate only one drone at a time
4) Foreigners are prohibited from using remotely piloted aircraft in India.
5) The drone can be flown only within the line of the site of the person using it.
6) Drones can be used for commercial purposes such as an aerial survey of real estates projects, personal purposes such as photography at the events, and educational purposes such as within colleges for training.
7) Aerial photography for the recreational purpose behind flying the drone does not require a Unique Identification Number (UIN). However, it is necessary to inform local police before undertaking such activities even for indoor operations.
8) Flying drones from a mobile platform such as moving vehicles, ships, or aircraft is not allowed.
To achieve stunning, high-quality aerial photography below are a few drone photography tips that can help you master the art gradually:-
1) Check the UAV forecast beforehand
It is essential to have explicit knowledge and information of local wind speeds, chances of rain, cloud cover, visibility, etc., for the safety of the drone, its pilot, building, and other people in the area where the drone flying would be undertaken. Checking over the forecast before going out for shooting in a particular area can help plan the shoot better
2) Shoot in R A W format
It is always advisable in the drone photography business to take the photos in digital RAW format as it gives more versatility in image post-processing. RAW formats render uncompressed and lossless image data from the sensor that can be edited easily as per requirements later. This format preserves a better level of brightness, details, and resolution preserving them to make greater exposure and color adjustments later. Also, the natural look of the photographs is not lost. Most of the high-end drones come with an onboard camera that supports RAW format for images.
3) Lower ISO is better
As drones cameras usually have a smaller sensor, it does not work well with high ISO settings. As long as drone photography is done during the day, ample lighting makes keeping low ISO setting not an issue. While shooting in windy or shady places with the drone, keep an aperture open, or use a slower shutter speed to let more light enter for capturing sharp images.
4) Compose images with the help of a third grid overlay
Since during photography with a drone you cannot set the camera for the particular scene or object manually, it is necessary to compose the image properly with the help of a thirds grid overlay. This technique enables setting up the frame for the images correctly from the ground. Thirds grid is usually an accompanying app in the drone camera that helps users frame their photos more accurately. This avoids any unnecessary cropping in the post-processing stage and improves image composition.
5) Make use of the auto exposure bracketing feature
These features of certain drones help to capture very realistic photos with a high dynamic range in a single shot. Using this feature, the same photograph can be captured several times at different exposures and settings that render more forces to work on later. The photographs or the image with the best exposure level or combining all of them into one to create the best shot can be done. This is particularly useful when the user wants to save time and get correctly exposed shots to create high-quality HRD images.
6) Taking high-resolution images in the panoramic view
Some drones come with a Panorama mode that helps to capture bigger images with more pixels rendering better details of the shot. This feature helps to capture an entire scene that cannot be taken with the single Wide-Angle shot due to limitations of legal height for uncrewed aerial vehicles. With the help of this feature, drones capture dramatic after sunrise and before sunset, high-resolution images from above the ground. Photographers can discover how shadows can completely change the scenario from the altitude.
7) Use camera lens filters
Camera lens filter helps to achieve better results in the photographs as there are different types of filters, with the specific purpose, available. Before purchasing any filter, make sure to list down the photos you usually click through drone, the shooting time of the day, and the environment in which you shoot. This kind of segregation can help decide upon the filters precisely.
8) Choosing the right aspect ratio
Choosing the right aspect ratio is a good thing as it gives more options in post-processing, improving the focus on a particular subject or scene. It helps in increasing or decreasing the space between focal points and the sides frame because drone cameras offer a much wider format of 16:9 and 4:3 in comparison to the 3:2 aspect ratio of digital cameras.
9) Taking a selfie with a drone
As the drone is used for capturing memorable photos these days, some of them come with the gesture mode that allows the pilot to command the aircraft with hand or gesture. Clicking aerial selfies could be fun using this feature as the user can instruct the drone to place them in the middle of the frame while clicking the photos.
10) Keep spare batteries handy
Always keep extra batteries if you want to keep your shooting carried on until you capture the desired photographs in a shoot.
Conclusion
The temptation to fly the drone can allow capturing great pictures, but they can be often taken low to the ground too. This allows the camera to capture the contours of the landscape from close quarters. From here the depth, size, and the shape of the features on the surface of the earth can be seen which cannot be captured from high up. Closer to the ground is a more accurate way of shooting right down, capturing more details.
Hi, this is a comment.
To get started with moderating, editing, and deleting comments, please visit the Comments screen in the dashboard.
Commenter avatars come from Gravatar.